Not many! This guide will will show you how to connect Mailchimp with WordPress (and how to add an opt-in). So, grab a cup of coffee, sit back and follow these instructions!
STEP 1: SET UP A FREE MAILCHIMP ACCOUNT
You will receive an email with a link to activate your new Mailchimp account.
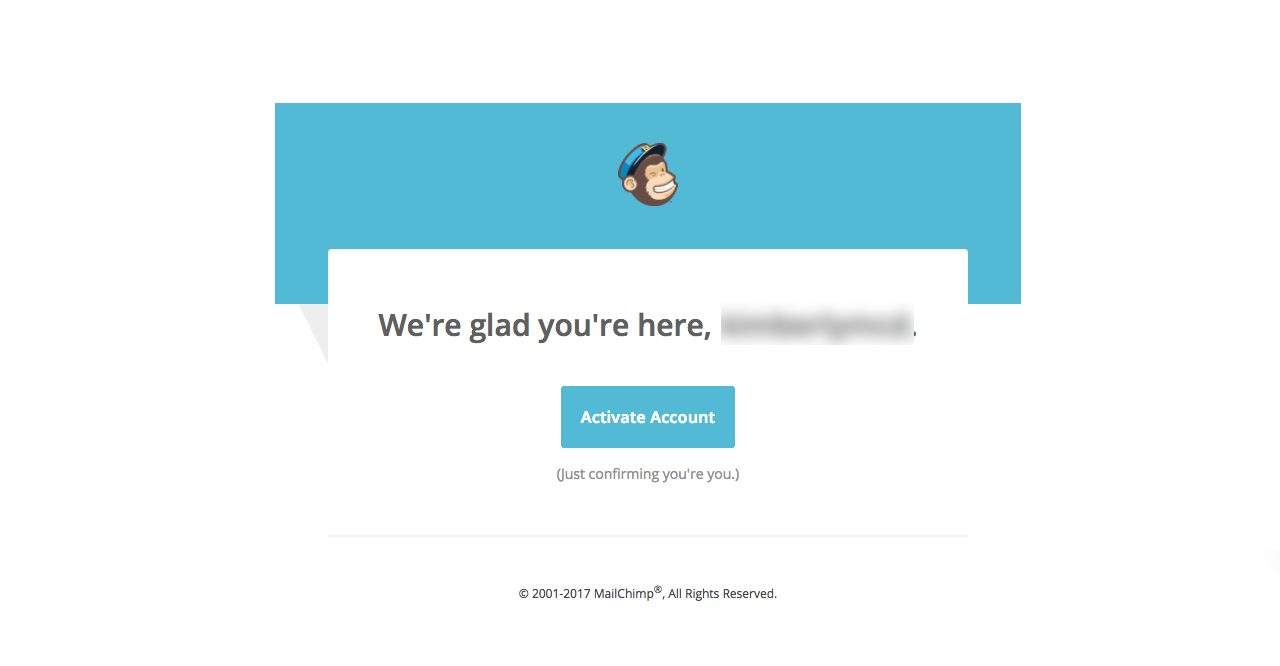
Click on the Activate Account button.
It will then ask you to prove that you are not a robot by completing a photo prompt as seen below.
The next part is a little tricky. It will ask you for an address. Some people use a PO Box because it does, in fact, show your address when people subscribe to your newsletter.
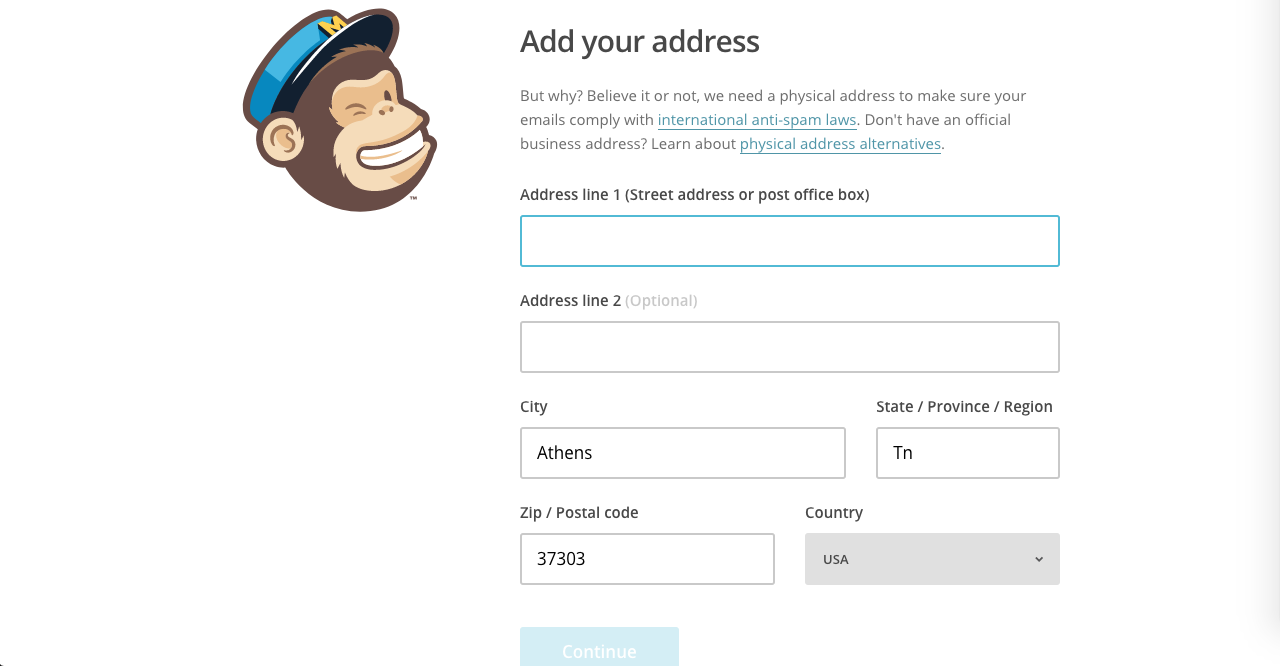
You will be asked a few more questions about your business and have the opportunity to connect your social media accounts to your newsletter. Once you have completed these steps, you will be taken to your Mailchimp Dashboard.

Once you have logged into your dashboard, click on the word Lists in the menu. This is where you will be creating your mailing list.
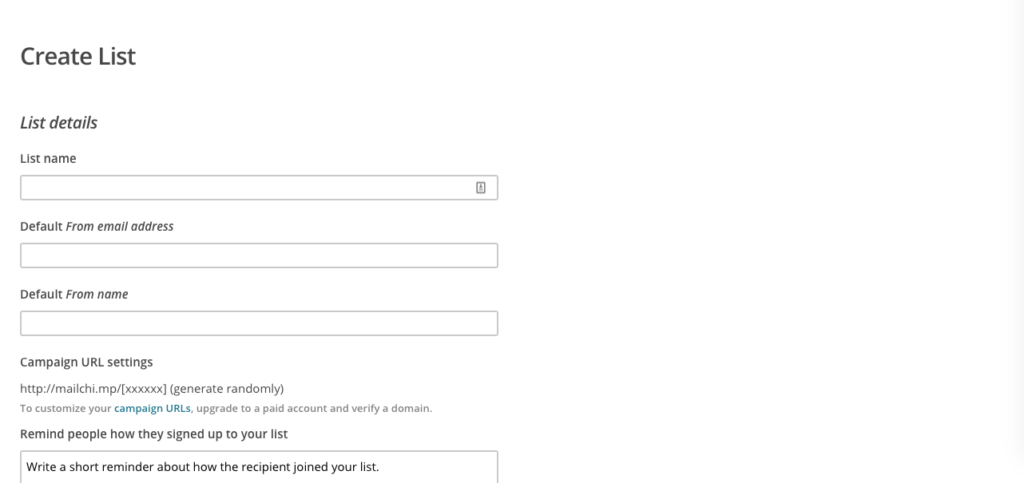
Congratulations, you’ve successfully set up your email list! The next step…setting up an email opt-in for your website! How do I do this, you ask?
STEP 2: UPLOAD YOUR FREEBIE TO MAILCHIMP
Access the Content Manager in your Mailchimp account. The Content Manager is where you go to upload and manage all of your files on MailChimp’s server. Click the Templates option in the top menu on your dashboard, then click the Content Manager button. Upload your freebie. Once it has been uploaded, your freebie will appear in the list of files in the Content Manager. Click the Copy URL button to the right of the freebie to copy the download link. You will need this link for Step #5.
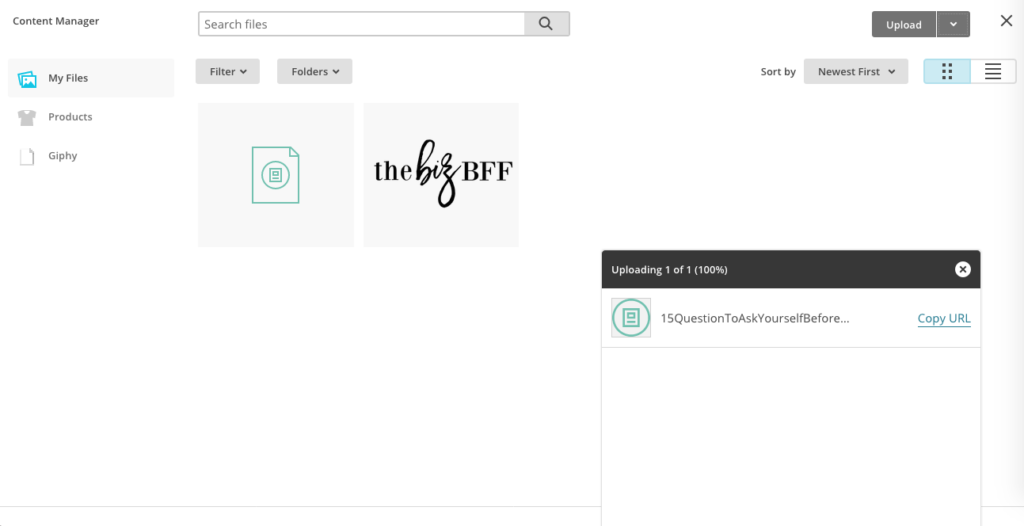
Click the X in the upper right hand corner to close this section and go back to the Mailchimp dashboard.
STEP 3: DOWNLOAD AND INSTALL THE MAILCHIMP PLUGIN FOR WORDPRESS ON YOUR WORDPRESS SITE
Once you have done this, you will need to choose how you/where you want your sign up form to appear on your website. The most common places for sign up forms are pop-up box, sidebar, at the end of blog posts, etc. Steps on how to do this are located in Step #5.
STEP 4: CONNECT YOUR MAILCHIMP ACCOUNT TO WORDPRESS
You will need your Mailchimp API Key in order to connect your Mailchimp account to your WordPress site. To find your API Key, follow these steps in your Mailchimp dashboard.

- Click your profile name to expand the Account Panel, and choose Account.
- Click the Extras drop-down menu and choose API keys.
- Copy an existing API key or click the Create A Key button.
- Name your key descriptively, so you know what application uses that key.
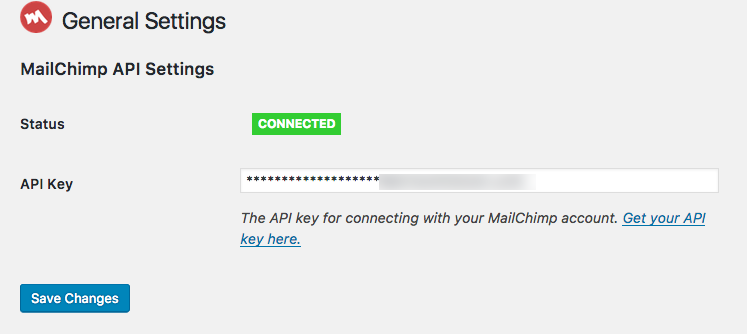
Copy your new API key so that it is available for pasting in the next step. Once you have your API Key, head over to your WordPress site and navigate to Dashboard>Mailchimp for WP>Mailchimp. This is where you will enter your API Key.
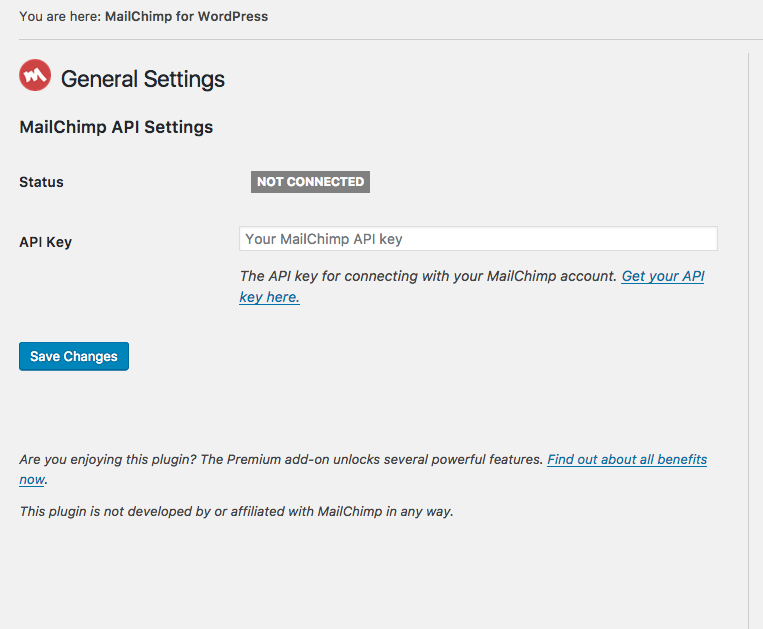
I have copied and pasted mine, as seen below, and now my email list is connected to my WordPress site!
STEP 5: CREATE YOUR SIGN UP FORM
Once you have connected your Mailchimp account to your WordPress site by following the above instructions, you are ready to create your sign up form to place on your site! On your Mailchimp account, click on Lists from the top menu. This will bring you to your list of email lists. Click on the list that you want to create the sign up form for. It will bring you to a page that looks like this:
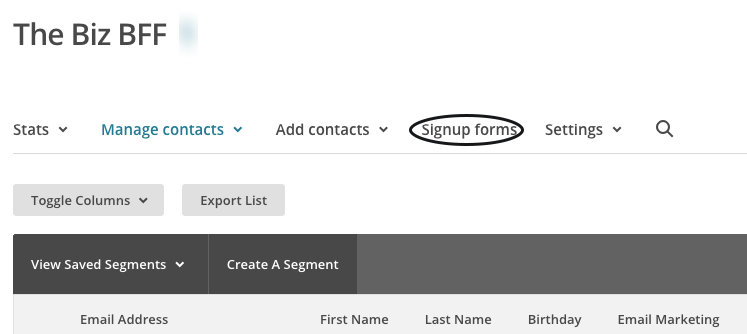
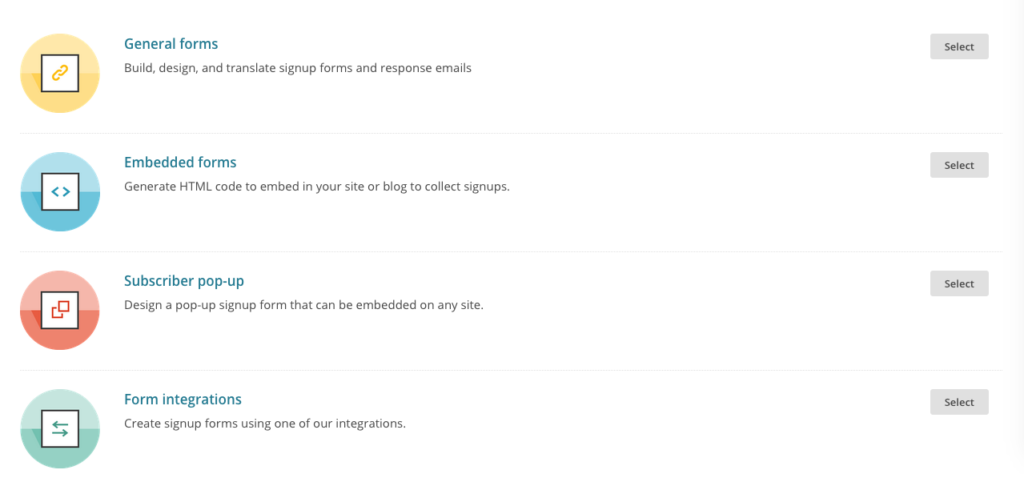
Click on the ‘Embedded forms’ link from the menu.
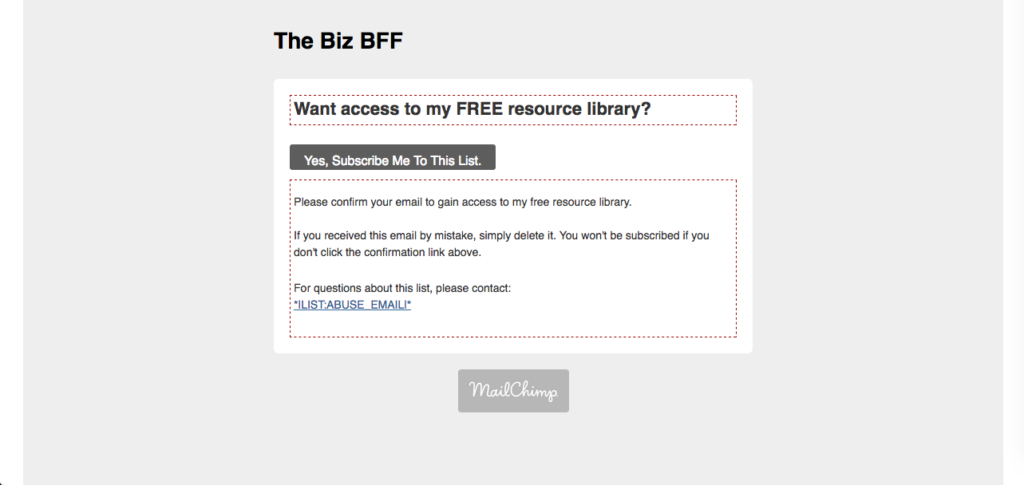
Click on the drop-down button and choose the opt-in confirmation email option. What is this? This is the email that someone receives when they subscribe.
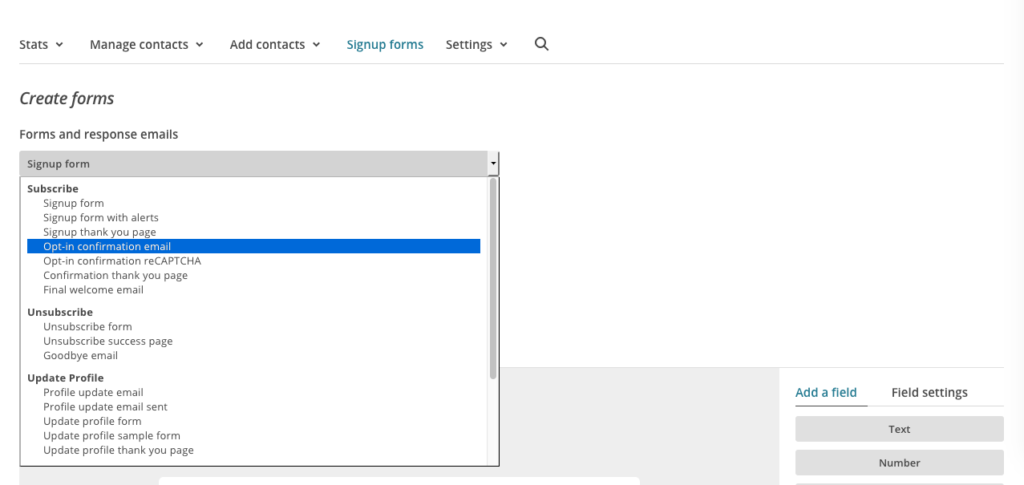
The next step is to customize your sign up form. The message that you place into your opt-in confirmation email can vary, dependent upon what you will be offering. I’ve included a screenshot of what my form says.
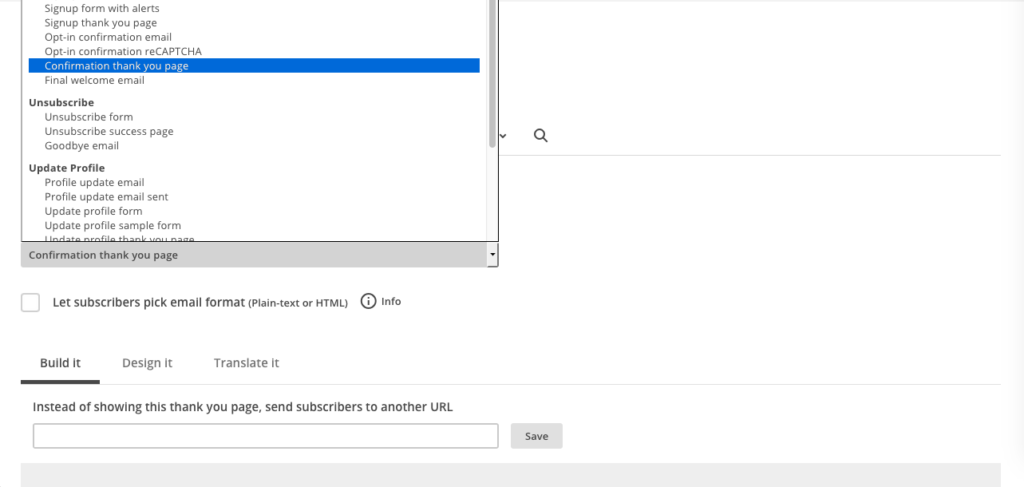
Click on the drop-down menu to change forms and choose confirmation “thank you” page. This is where subscribers will be taken to after clicking on the “Yes, subscribe me to this list” button. This is also where you will place the link to your freebie for subscribers to download.
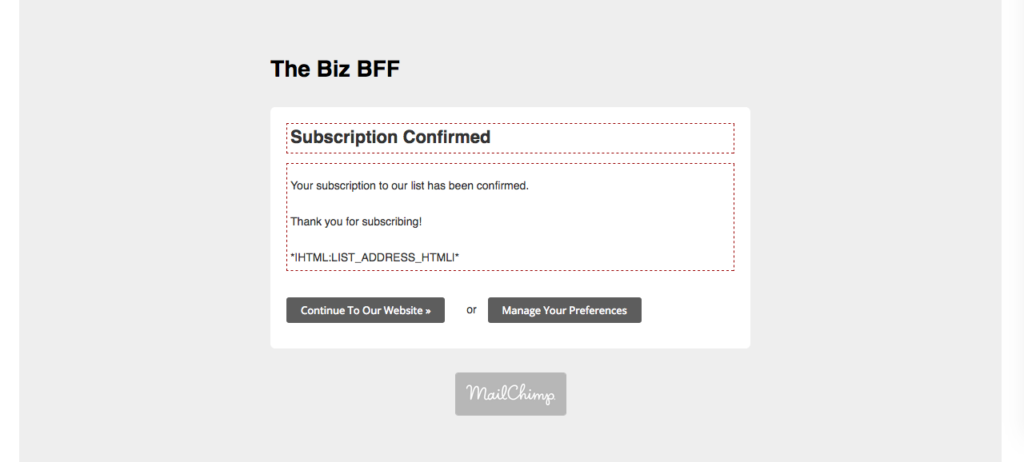
This is what my thank you page looks like:
And last but not least, you will want to click on the drop-down button and choose the final welcome email option. What is this? This is the email that someone receives when they subscribe. Make sure to edit this section to include the link to your freebie by pasting the link you copied in Step #2. Include something along the lines of “Click here to download your freebie.” Click and drag over the text you just typed to select it.
Click the Link button in the edit window toolbar (it looks like a chain link). Copy the URL for your freebie that you saved earlier, then paste it into the Web Address (URL) box and click Insert.
You have successfully linked your freebie to your welcome email! Whenever someone subscribes to your newsletter, they will receive your opt-in freebie!
STEP 6: ADD YOUR MAILCHIMP SIGNUP FORM TO YOUR WORDPRESS SITE
Navigate to your WordPress site and click on Dashboard>Mailchimp for WP>Mailchimp>Forms. Your screen will look like the following.
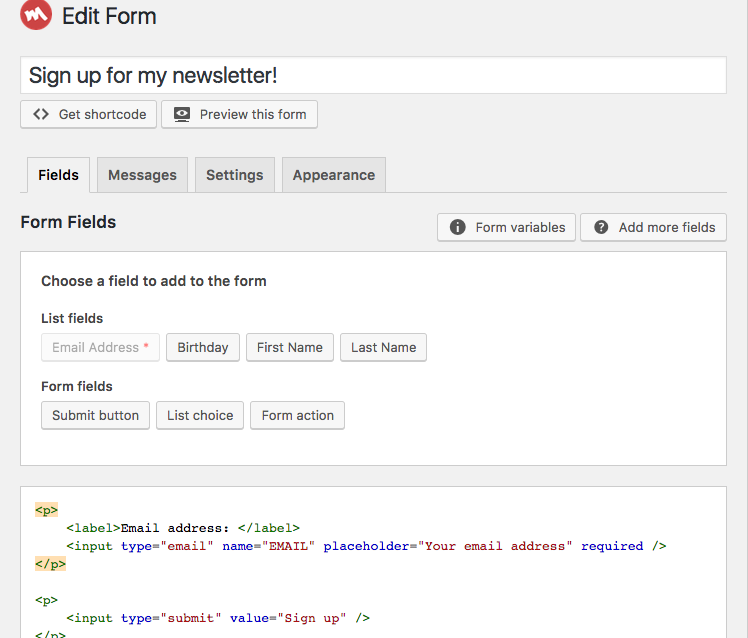
Once you have your fields the way you want them, you will need to scroll down and click on ‘Save Changes’. You will also need to grab the shortcode for the form in order to place the form on your site. Click on the ‘Get shortcode’ button. Copy the shortcode. Paste the shortcode inside a post, page or text widget to display your signup form.
Congratulations, you’ve just connected your mailchimp account to your WordPress website!
Let me know if you have any questions in the comments below!


